As the other piece dries I am going to work on the pillars right now. For the moment I am only going to make 8 of these as that is all I need for this piece. Although later on in this set I will probably need more.
Ogroth Ruins Pillars
What you need for this section:
8- 50mm bases from Privateer Press
1- 2'x2' 3/4" thick insulation foam (pink foam)
PVA Glue
220 grit sandpaper
sharp knife
Measuring ruler
ball point pen
STEP 1: Pillars of the Community
I like puns. So taking our 2'x2' 3/4" thick pink foam we measure out 2 blocks. 1 1/2" wide 3" tall. This will form 1 pillar. So measure away for multiple pillars. I am going to show the construction of 1 and you can multiply that with each one you assemble.


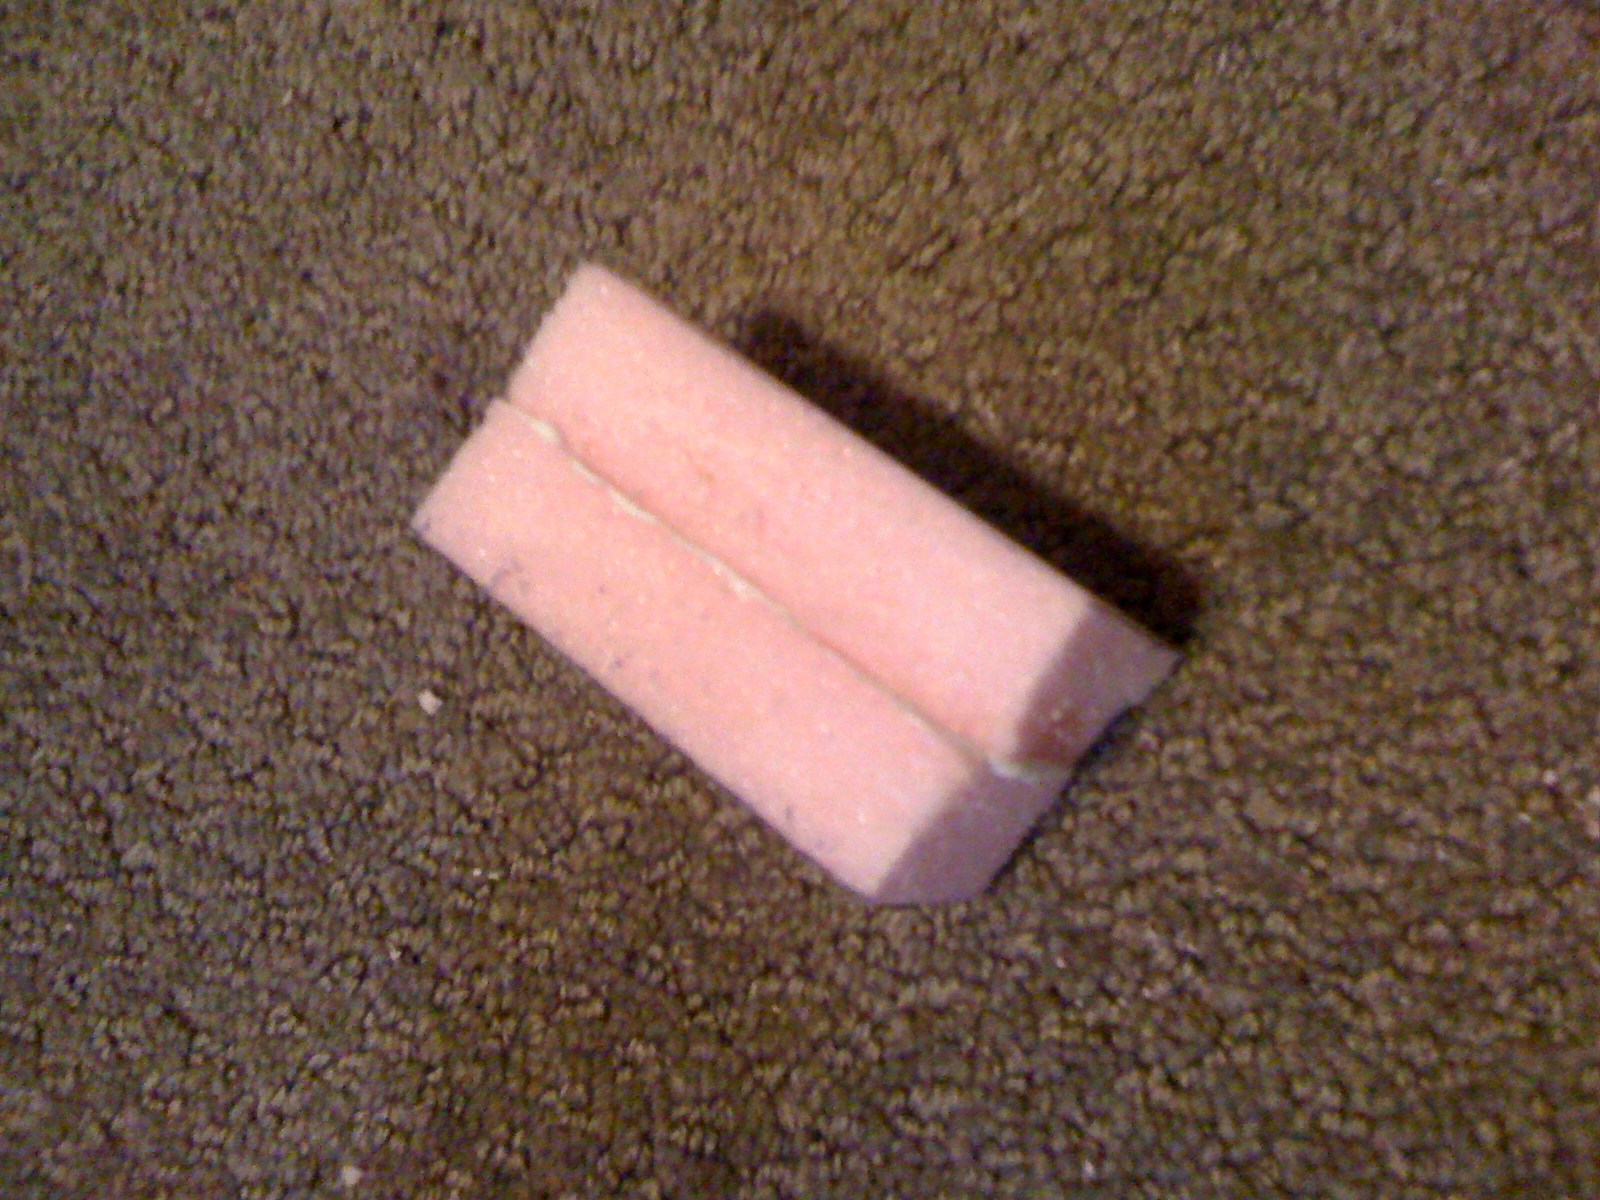
It may look like a sandwich, but DONT eat it!
After they dry take a sharp knife and trim off the corner edges. This will make easier for sanding into a circle. Save your scraps because I will be using these later in other pieces of this set.

STEP3: Sanding
Using the 220 grit sandpaper, sand down your pillars into a cylinder shape. This will stand as our pillars in this, and future pieces.

Make sure the piece fits roughly onto a 50mm base with room to spare.

STEP 4: Details
So now you have 8 pillars that probably look all the same. To add character to each, take an Excato blade and nic and notch each pillar individually. Even across the top, remember these are ruins. I have even cut a few in half and weird angles to add more variety. I am also saving the tops I cut off for ruins in another project. Remember variety is the spice of life.
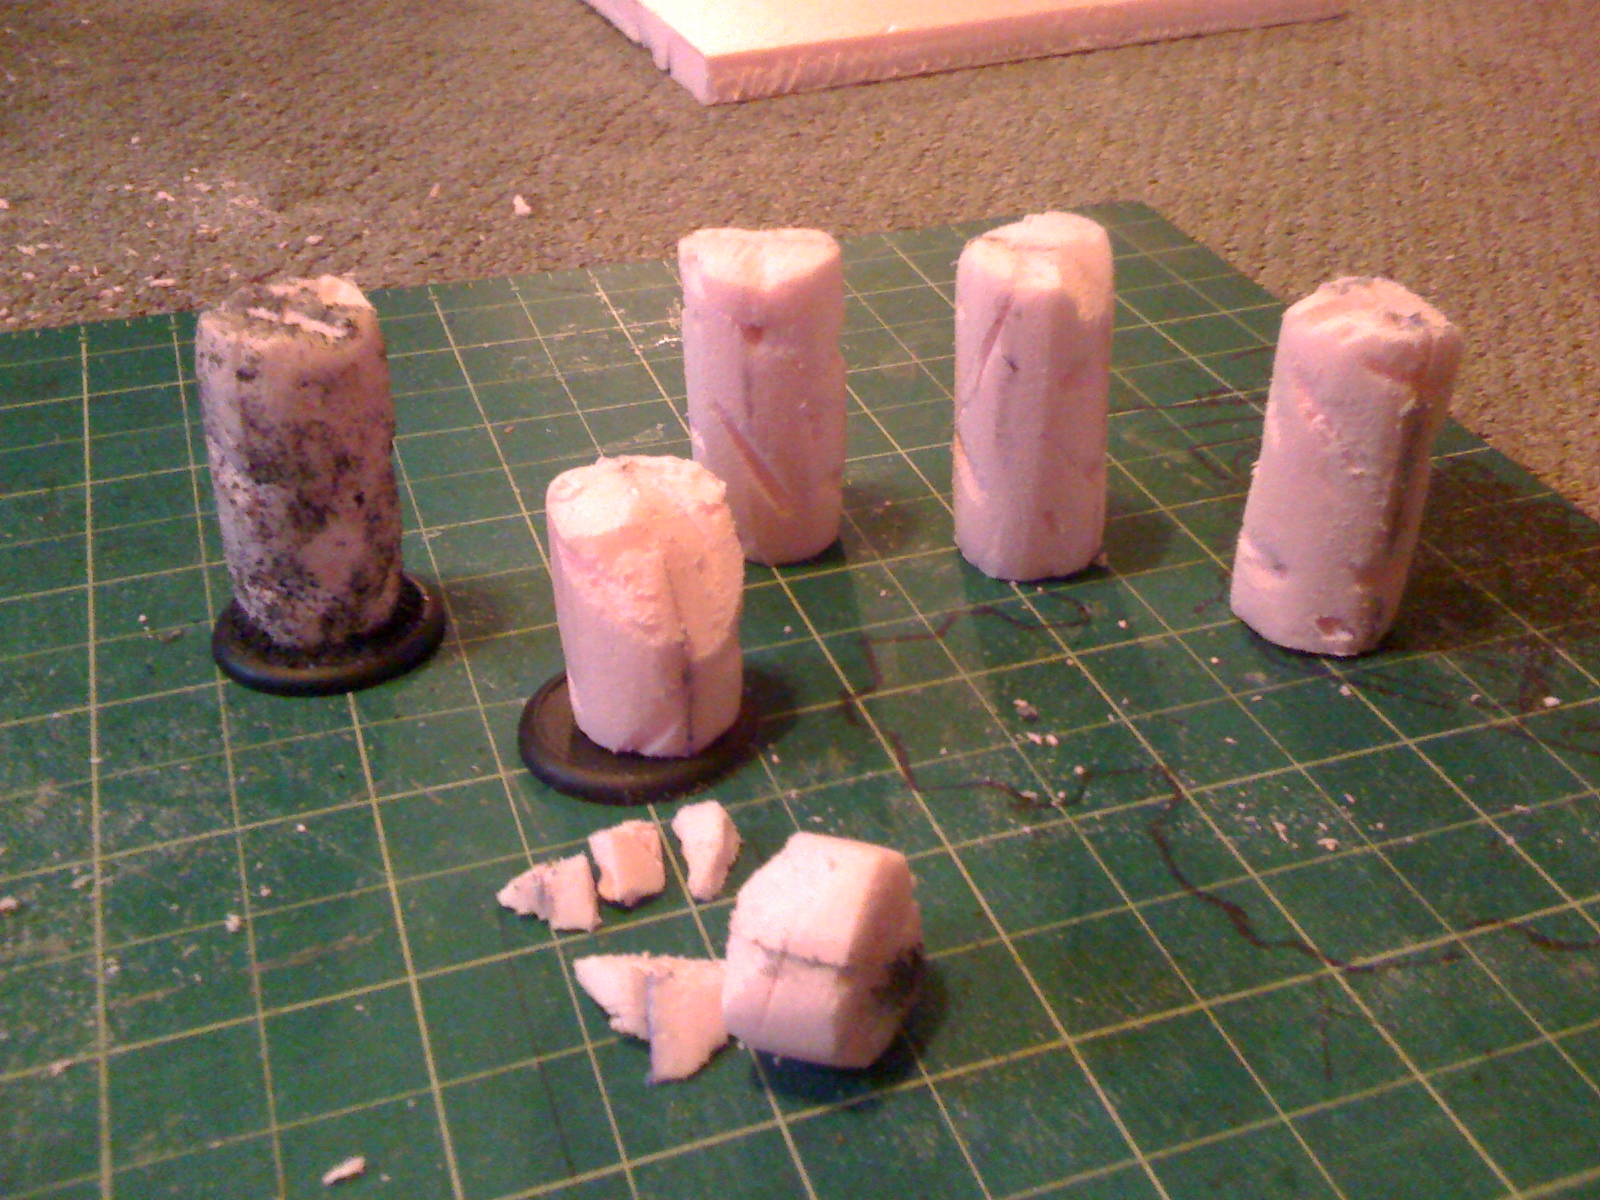

Save your scraps! They can be stored in a plastic bag, or a bits box.
STEP 5: Glue Covering.
As with the other pieces of foam You want to cover these with a glue/water mix to protect the foam. These 8 pillars were also glued to a 50mm base as they are the pillars I will be using for this piece.


Now as the glue dries here I will go back to working on the hill we started in part 1. Continuing on the hill we are going to use the acrylic paints and ballast mentioned in the beginning. This will be coating the hill and will begin using new steps.
STEP 1: Paint the Alter.
Grab up your choice of acrylic paint. I am using Liquitex Basic colors (picked up from an art store). This is Black. I use a flat brush and coat the whole top of the alter ruins. Dont forget the edges, and dont worry about getting some on the hill, we will cover that up later.

STEP 2: Adding Ballast
Also known as sand or grit. Any type will do, I am using Woodland Scenics because it is black and will save me a bit of time by not coating it black before I paint it. There are 2 types I am using for this part, fine and medium ballast. The fine will be used on the outter circles and the excess of that will be mixed with the medium ballast to be used arounf the alter ruins. The blue tub is your average dishwashers sink tub and will be used to collect the excess that falls/shakes off later.


Using the 50mm outlines we traced earlier this is where we will add our first bit of ballast.


Now continue for each of the other 3 circle outlines. Doing 1 at a time will allow less of a mess.

Now we are going to add ballast to the outside of the ruined alter. Using PVA Glue spread any pattern you want but make sure it touches the bottom edge of the ruins. If you want you could work in smaller sections.


After you have all the sides covered, I added a little extra to the top of the ruined alter piece by adding random glue spots to be covered with the leftover excess in the blue tub.


Now you have your accents to your piece. While we are here (and our pillars are dry) we are going to add some glue to the bottom of the pillars and dip them in the excess as well to add some loose stone to their bases, this will not only add some detail but will also match them to the main alter ruins.

Now we let that all dry, and we will be ready for painting, flocking, and finishing up the piece...
but that will be in part 3. Trust me, you wont want to miss it!
No comments:
Post a Comment