Showing posts with label Tips. Show all posts

Thursday, March 20, 2014

Bases Tutorial: Forest

As shown in the Circle of Orboros commissions, here is how I made the forest bases. Before I started painting the figures, they were based using the basic grit shown here. The bases were painted with the Reaper Master Series Woodstain Brown then left alone until after the figure was painted and sealed!

Remember SEAL Coat the figure first, before continuing on. This will make sure the figure is protected and the base undisturbed until you are done. Dont worry another spray seal coat will be applied when you are all finished with the basing if you wish. On to the tutorial!

Aside from the paints being from Reaper Master Series, the tree stumps are from Woodland Scenics, and everything else is from Secret Weapon Miniatures

STEP 1: Preperation
After following the tutorial in the Basic Dirt you will need the following:
An old paintbrush
PVA Glue
Dirt Flock
Secret Weapon Miniatures:

Also watching these tutorials on Secret Weapon Miniatures website will help understand the uses of their various products, and a little research never hurt anyone.


STEP 2: Get on With it!

So we have our Figure painted and sealed, base is painted up and ready to go. We will start with applying the Secret Weapon Pigments. Pigments can be tricky at first use. you dont need a lot on your brush. Pigments are ment to be dry and "rubbed in" to cover the area.

We start with Dark Earth Pigment. 


Spread it over the base, covering most of the previously painted basing. Its ok if you get it one you miniature, it will add to the dirty effect (hence why I left it on the bottom of the cloak and feet).

IF you get some pigment where you dont want it, take a small brush with a BIT, tiny bit of water to wash it off. Make sure the water doesnt spread to the other pigment or it will make it wet and blend it into the paint, ruining the effect.

When finished, dont forget to "knock off" the excess by tapping on the underside of the base while it is upside-down. You can also gently blow on the top to remove excess, just do this facing away your paint area so you dont get it everywhere if you blow to hard.


STEP 3: Terracotta Earth

Next we apply Terracotta Earth Pigment, highlighting the previous pigment colors. This raises up the colors, just like using a drybrush.

Again, when finished dont forget to "knock off" the excess by tapping on the underside of the base while it is upside-down. You can also gently blow on the top to remove excess, just do this facing away your paint area so you dont get it everywhere if you blow to hard.


STEP 4: Exhaust Black

Here we drybrush the Exhaust Black Pigment over everything we just did. This helps to shade down the tones more earthly. Extra Exhaust Black was added under the cloak for deeper shading.

One last time, When finished, dont forget to "knock off" the excess by tapping on the underside of the base while it is upside-down. You can also gently blow on the top to remove excess, just do this facing away your paint area so you dont get it everywhere if you blow to hard.


STEP 5: The Dirty

Using PVA glue overtop of pigments is tricky. If spread around it will mix the pigments making them wet and turning into a thick paint, not really what we want. Just a dab here and there where you want the dirt flock to go, depending on how full you want your greens. Leave some space for the fallen and crushed leaves we will be making in the next step.


Add you favorite dirt flock, or grass flock to the PVA glue. Make sure the flock is a bit darker in color from the leaves you choose for color contrast.

Press in the excess, and "knock off" and/or blow the excess away from your work area.


STEP 6: Crush them Down!

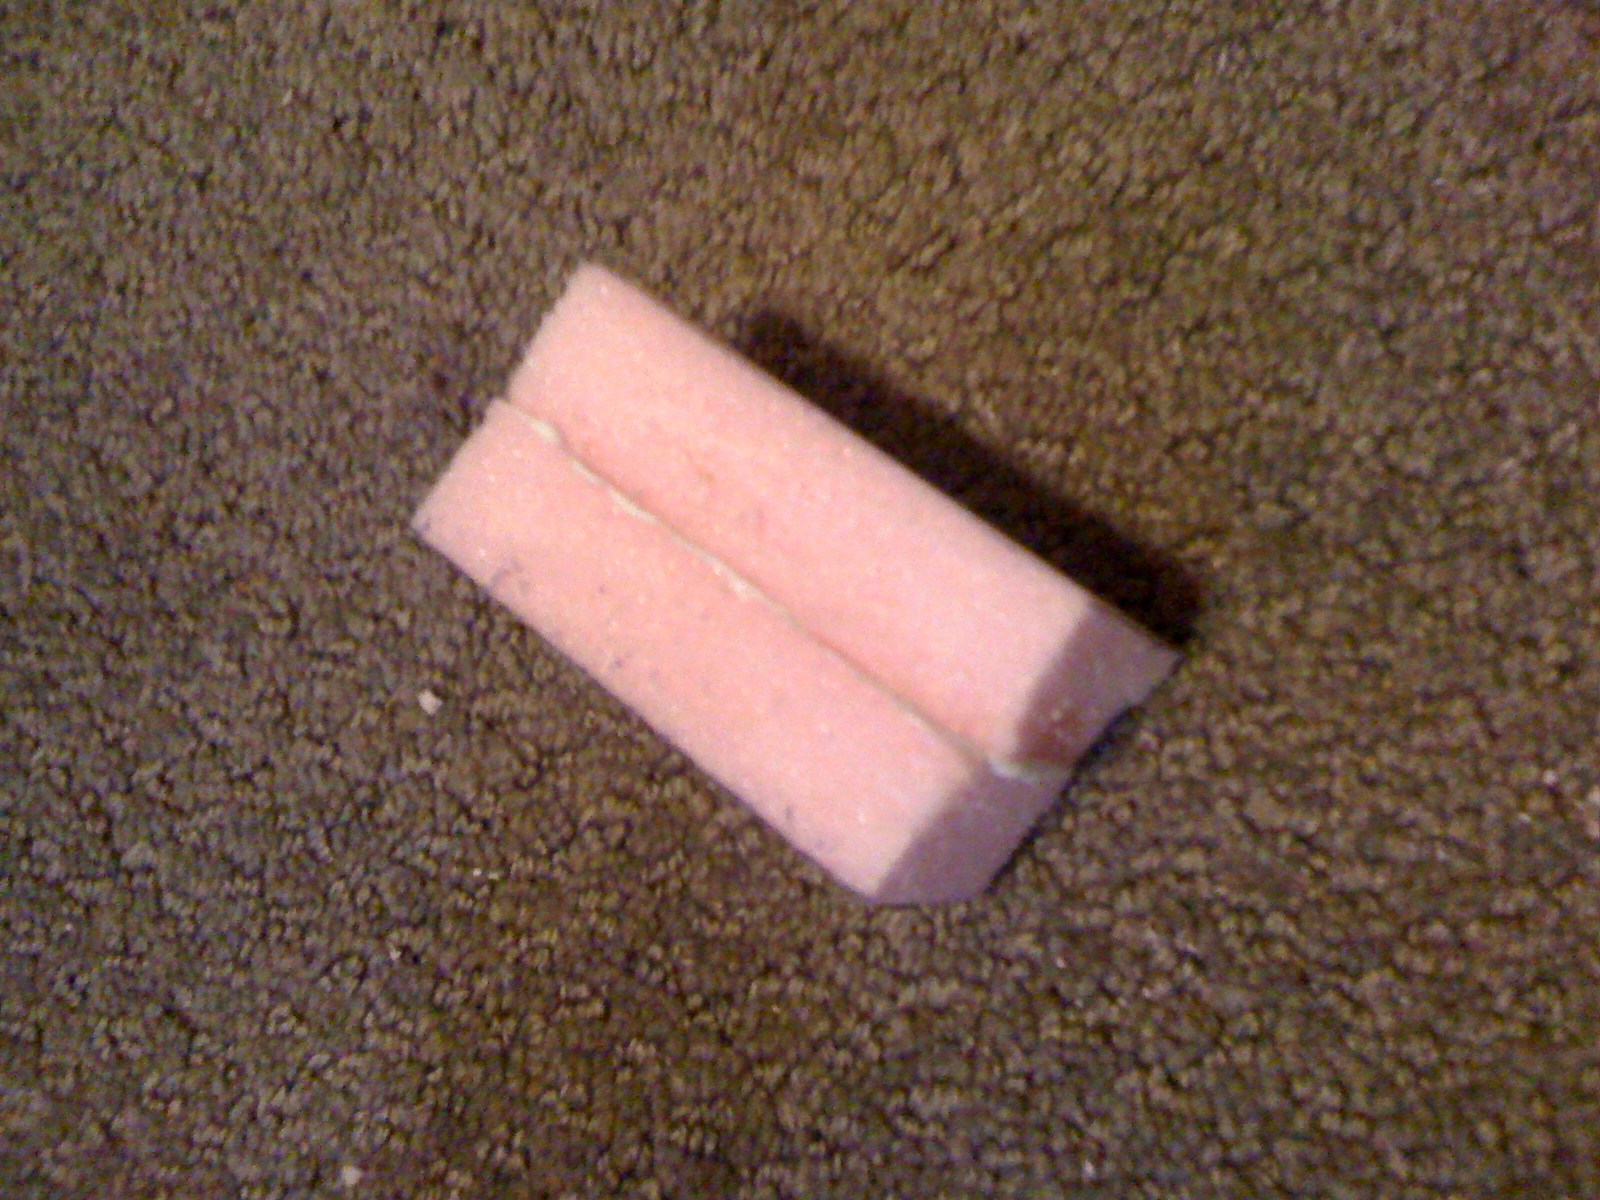
Next up we take the Dark Green Leaf Litter from Secret Weapon Miniatures (as sen in the top of the pic) and crush it! Rub it together grind with a piantbrush end, or however you want to. It should look the bottom of the pic below).


Add PVA glue to the areas you want covered by the crushed leaves. Again you can cover the rest of the base, or leave it as open as you want.


STEP 7: Leafing the Base

For the finishing touches, we turn to Secret Weapon MIniatures Fallen Leaves: Fall Mix. This provides a variety of fall colors for the leaves.


Applying the Leaves is a simple step, take some PVA glue (a small dab) and add it to the the bottom of the leaf and press it into place. Do this for each leaf. Make sure you spread them out, leaves dont usually fall in clumps.


STEP 8: Reap your Enjoyment!

There you have it, forest bases all done! Looks pretty and livens up you painted figure.
If your careful with your figures you can go and play some games, or sit them on the shelf. For extra added protection, you can use a dull spray seal coat to make sure that stuff sticks to the bases, but it should hold as is currently. I didnt use one here, just because of paranoia I recently had with a can of spray sealer.


Here are some colors I used on the bases that were not covered in the tutorial, but are on some of the bases. All paints following are Reaper Master Series. Colors separated by a coma are just a drybrush blend starting at the darkest color, highlighting upwards.

Base Grit: Woodstain Brown
Stones: Stone Shadow, Stone Grey, Weathered Stone
Tree Parts: Blackend Brown, Shield Brown, Driftwood Brown.

Saturday, June 23, 2012

Frosted Terror

Hello again readers and browsers! Its been a while, I know. I have been busy lately painting up more of my Cryx army for a tournament happing soon. Out of all the models I own for Warmachine, Cryx is the largest with just about 300 models! Out of them, less than half are fully painted and ready to go. So I set out to paint what I can this past month and I ran into an issue when working on one of the big ones, the Cryx battle engine, the Wraith Engine!

Hence the title, Frosted Terror! It may have happened to you, or it may some day and I am here to help you out. You just finished painting a beautiful miniature, you let the paint dry, and you begin to apply sealer. Whatever type of sealer you use, you notice that upon drying something bad, no terrible, no no, UNSPEAKABLE has happened! The beautiful paint job is now covered over in a frosting grey haze!!!
NOOOOOOOOOOOOOOOOOOOOOOOOOO!


All those hours, all that detail, all that damned frost! What to do, where to turn? Right here friends, I am with you and I will help you through this. First, dont panic. Frosting can occur with many variables, the most common being the weather. Humidity can cause the sealer to set before it is completely dry causing this fog up, or it could be an old bottle/can of sealer, or just a bad batch. Just follows these steps and you will be back to praising the light and the fact that you came across this.

STEP 1: DONT PANIC!
 So its a hugh deal, but easily fixable. After this horrendous finding, breath and say "I can fix this". Dont touch the miniature and set it aside for 24 hrs to allow the sealer to completely set in. usually 12hrs will do, but better safe than sorry.


STEP 2: Cooking up the Miniature.
 Ingredients to use after the miniature has sat for a while. Olive Oil and water. Thats it. You dont even need that much of the olive oil either, Just a dab. Wash the entire miniature with Olive Oil, just like you are adding an ink wash. Use the water to help spread it around all over the frosted areas. You will be able to tell where you need to go over if you missed any spots.


STEP 3: Drying Time
So you can see here in this shot, the miniature is washed with the Olive Oil and water. This is what it looks like when drying. Make sure to wash off excess Olive Oil. Too much may not let paint stick to it again. Or even your re-sealer.


STEP 4: RE-SEAL
Now if you want to leave the miniature all shinny, you can. The texture may feel weird, but that is up to you. IF you decide to re-seal, I suggest you wait another 24hrs AFTER the Oil wash to apply any type of sealer.  In this pic here I did re-seal with Testors Dullcoat spray. I did have to wait for a nice day (no humidity) to help ensure that no frosting would take place again.

STEP 5: Enjoy!
And there you have it! The beautiful miniature brought back to its former glory! Sure it took time to get it back, but its worth it. I didnt have to re-paint, or worse yet strip the already painted model. Life realigned itself and everything was good again. Now I can continue on painting more!

Next time I update, hopefully I will have this model completely finished and more along with it. Until then remember: Its not the heat, its the humidity!

Thursday, May 24, 2012

Ogroth Ruins-King of the Hill pt3

Here we are, the wrap up post of the newest piece of terrain, the Ogroth Ruins King of the Hill! This will be touching up the final piece painting and flocking. So grab what you want and get ready for some exciting conclusion!

What I used:
Liquitex Basic (acrylic paint)
 -Black, Grey, and White
 - Light Brown, Brown
Woodland Scenics Blended Truf-Green
Woodland Scenics Medium Green Flock
Woodland Scenics Weeds


STEP1: Paint!
So apparently I forgot to take some pictures here. Well as you can see I painted the Stone Alter and the Ballast added from the last post. So here are some finished painted pics of the hill and stone alter. The hill is still the same green we added long ago, the brown ballast was painted using the Acrylic paint Brown, then mixed with light brown, and mixed a bit of white in to raise the color.
 The Stone Alter was painted by mixing the black and grey, then straight grey, grey mixed with white, and finally in highlight areas straight white. It is starting to come together now!


 The pillars were painted in the same fashion as the Stone alter using the same acrylic paints. For the most part these pillars are finished and look great.

 STEP 2: Flock You!
(See I like puns) Now to add the grass for the hill. We are using (Why do I say we? Its just me here) Woodland Scenics Blended Turf, Green blend. This provides an almost natural grass color and has variety of colors in it so as not to be bland 1 color grass. Take your PVA Glue and spread out an area to cover with the grass.

 I pour an extra bit ontop of the glue and press down firmly to stick it in place. Then shake off the excess into the blue tub. NOTE: Make sure blue tub is clean and empty, you dont want bits of stone or other getting into the blend, you can always reuse the excess.
 Continuing flocking until the hill is completely covered. It looks beautiful right now.
 In the same fashion here I used PVA Glue in random spots to stick down some green flock and weeds. The light green patches is the green flock. the green spots on the alter is the Woodland Scenics Weeds.


 Oh la la, she is beautiful! Now lets add all the bits together!
As I mentioned at the beginning of the project this is a terrain piece to be used for Warmachine/Hordes games. As such it can be used for a King of the Hill scenario, it can also be used for the Mosh Pit scenario because of the 14" circle top of the hill. Now because I added so many parts there can be a variety of King of the Hill and as such I have made names for them. I will share the names with each of the pics :)


King of the Hill 


 Super King of the Hill


 Extreme King of the Hill


 Mega King of the Hill

NOTE: Now I realized I said that 5" circle made earlier on that we would get to it...Apparently I missed taking pics of it. Although it was made in the same fashion as the 10" stone alter. cut in half, design outline and paint. This top piece is a stand alone to be added if you so choose as with the pillars.


And there you have the finished piece! It is beautiful and works so well. I will have to get some in game shots with this, but you can fit a 50mm between all the other pillars. Now you can keep the extra bits free form and place when you want (the 8 pillars and the top 5" stone). I am going to add magnets to the bottom of each piece and the top of the hills so that they dont move when being played on.

I declare that this piece be finished! So there you have the Ogroth Ruins- King of the Hill piece. I am going to work more on this set, but first I have to paint something. I think I have an idea. Upcoming in this Ogroth Ruins set are a few more basic hills, some smaller (4"x6") ruins, and an actual mosh pit area! So stay tuned if you like. Until next time...

Ogroth Ruins-King of the Hill pt2

And we are back! Continuing on the Ogroth Ruins King of the Hill terrain piece. In case you missed it part 1 was done earlier today and can be found in the side navigation menu using the Ogroth Ruins label or looking under May 2012. For now I am making a King of the Hill terrain piece (that can also dub as a Mosh Pit area), but I know I am expanding and plan on doing a whole set dedicated to this motif.

As the other piece dries I am going to work on the pillars right now. For the moment I am only going to make 8 of these as that is all I need for this piece. Although later on in this set I will probably need more.

Ogroth Ruins Pillars
What you need for this section:
8- 50mm bases from Privateer Press
1- 2'x2' 3/4" thick insulation foam (pink foam)
PVA Glue
220 grit sandpaper
sharp knife
Measuring ruler
ball point pen

STEP 1: Pillars of the Community
I like puns. So taking our 2'x2' 3/4" thick pink foam we measure out 2 blocks. 1 1/2" wide 3" tall. This will form 1 pillar. So measure away for multiple pillars. I am going to show the construction of 1 and you can multiply that with each one you assemble.
 Take each block you cut out and line them up two by two, or 2 blocks for each pillar. Using your PVA glue stick it to one side and make a sandwich, pressing each side together. You could also use toothpics here to help hold the sides together, just use 2 toothpics and place one near the top and the other near the bottom.

 It may look like a sandwich, but DONT eat it!

STEP 2: Trim the Edge
After they dry take a sharp knife and trim off the corner edges. This will make easier for sanding into a circle. Save your scraps because I will be using these later in other pieces of this set.

STEP3: Sanding
Using the 220 grit sandpaper, sand down your pillars into a cylinder shape. This will stand as our pillars in this, and future pieces.

Make sure the piece fits roughly onto a 50mm base with room to spare.

 STEP 4: Details
So now you have 8 pillars that probably look all the same. To add character to each, take an Excato blade and nic and notch each pillar individually. Even across the top, remember these are ruins. I have even cut a few in half and weird angles to add more variety. I am also saving the tops I cut off for ruins in another project. Remember variety is the spice of life.

Save your scraps! They can be stored in a plastic bag, or a bits box.

STEP 5: Glue Covering.
As with the other pieces of foam You want to cover these with a glue/water mix to protect the foam. These 8 pillars were also glued to a 50mm base as they are the pillars I will be using for this piece.
 See the variety? You can mix and match the placement of the pillars and each looks unique in its own way.

Now as the glue dries here I will go back to working on the hill we started in part 1. Continuing on the hill we are going to use the acrylic paints and ballast mentioned in the beginning. This will be coating the hill and will begin using new steps.

STEP 1: Paint the Alter.
Grab up your choice of acrylic paint. I am using Liquitex Basic colors (picked up from an art store). This is Black. I use a flat brush and coat the whole top of the alter ruins. Dont forget the edges, and dont worry about getting some on the hill, we will cover that up later.


STEP 2: Adding Ballast
Also known as sand or grit. Any type will do, I am using Woodland Scenics because it is black and will save me a bit of time by not coating it black before I paint it. There are 2 types I am using for this part, fine and medium ballast. The fine will be used on the outter circles and the excess of that will be mixed with the medium ballast to be used arounf the alter ruins. The blue tub is your average dishwashers sink tub and will be used to collect the excess that falls/shakes off later.


Using the 50mm outlines we traced earlier this is where we will add our first bit of ballast.
 Add some PVA Glue in the circle area.
 Then sprinkle on the ballast. For these outer circles I used the Fine Ballast. Sprinkle over the blue tub to collect the excess once you shake it off. To shake off I first press firmly onto the ballast, this usually means I pour an extra amount onto the glue area first. Then turn the piece on its side (or even upside down), and tap strongly at the bottom to knock loose any bits not sticking to the glue.


Now continue for each of the other 3 circle outlines. Doing 1 at a time will allow less of a mess.

Now we are going to add ballast to the outside of the ruined alter. Using PVA Glue spread any pattern you want but make sure it touches the bottom edge of the ruins. If you want you could work in smaller sections.
 Spread on the ballast. This is a mix of the loose fine ballast and the medium ballast. Shake off your excess into the blue tub for reuse later on.

After you have all the sides covered, I added a little extra to the top of the ruined alter piece by adding random glue spots to be covered with the leftover excess in the blue tub.


Now you have your accents to your piece. While we are here (and our pillars are dry) we are going to add some glue to the bottom of the pillars and dip them in the excess as well to add some loose stone to their bases, this will not only add some detail but will also match them to the main alter ruins.

And then we will paint them black with the same paint as we did on the alter ruins above.
Now we let that all dry, and we will be ready for painting, flocking, and finishing up the piece...

but that will be in part 3. Trust me, you wont want to miss it!