Showing posts with label papercraft. Show all posts

Monday, April 9, 2012

EZ Dungeon 1: the build up

So just completed importing pics for the EZ Dungeon by Fat Dragon Games. This is just one of the builds I came up with, and this one I will be using for a large event at my LGS (Comic Store West). I believe I mentioned it before, Super Dungeon Explore Day- when people can come in and get a demo of the game, play a game, or build, and paint their miniatures of Super Dungeon Explore (by SodaPop Miniatures). That day is fast approaching (this Saturday) and I will hope to have up a slew of pictures of the whole day. For now I will show you the EZ Dungeon I built to be one of the dungeons used that day.

Floor tiles in place. Here are 9 of the 8"x8" tiles, this is the standard size I use for most of our games.  You can see all of the "lock holes" are open and ready for use. None of the tiles are connected by anything yet, usually I never do connect them for ease of transport and storage.

 EZ Pillars lock (pressed) into place. You can still see some of the holes, we will be taking care of that.

 Aaaand holes plugged. now the flooring of the dungeon is complete.

 Now we start building the walls, using the pillars to hold everything steady. Notice the archway? It is beautiful, that will be the start point of the adventure!

 Looking good so far. Is that a wall with red drapes? Lets get a closer look.

 Yup, this room has red drapes. along the walls and on the columns.These were custom made by another user on the Fat Dragon Games forums. There are also walls with cobwebs, I use them too. The red drapes make for a nice room , lets hope nothing bad happens in here (wink, wink). 

 Add some final touches, some round corners, and viola! EZ Dungeon build number 4 is done. (1-3 were good, but this is number 4). I cant wait to use it this week.


There will be a total of 3 3D papercraft dungeons to be on hand for use for anyones game, in case others want to play a friendly game on it. This is one, my 3D 8-bit homage dungeon will be the second, and the third dungeon will be one from World Works Games that I built a while ago.

Well hope you enjoyed the build. I should be back later this week with more pictures of painted stuff, until then....

Monday, April 2, 2012

EZ Dungeon begins

So hello again! Last month I posted how I was working on Fat Dragon Games EZ Dungeon for the Super Dungeon Explore Day at my LGS (Comic Store West). Well I have some pics I uploaded of pieces I completed and will now show you :)
As you will see there is more of a variety with the pieces for more advanced designs of the dungeons. As I said before this was an easy build and fun to do as well! Enjoy the pics:


 4" Wall

 2" wall

 1" wall

 2" corner

 1" column and post. The post sits inside the floor, the column on the floor.

 2" wide stairs. They are 3" long and 1" high. Just 1 of the sets of stairs.

 4" archway. The opening is 1 3/4" wide

 4" round piece.

8"x8" floor tile


And for those wondering this is the EZ Dungeon Deluxe set, the basic, starter if you will, from Fat Dragon Games. It was nice and easy to assemble. I rather do enjoy designing dungeons as much as I do painting. I also added 2 new tags (or labels): Fat Dragon Games and EZ Dungeon for easier look up later on.
Until next time, watch those paper cuts.

Wednesday, January 25, 2012

8 bit Dungeon!

Its finished! Finally! I was able to finish out the basics this past weekend, and I love it! If you remember I started this back in November. It was an idea I had when I ran across Fat Dragon Games and liked the simpleness of their dungeon design and build. I immediately thought of the old NES Zelda game, the dungeons. With Super Dungeon Explore on its way to my door I decided to get working on the design and build, and now here are some results.

1" square pillars. These get inserted into the floor holes.

 1" walls.

4" walls. Here you can see 2 different designs to break up the design.

2" walls. Again we have 2 different designs.

 8"x8" floors. Holes open and ready for use.

8"x8" floors. Hole covers in use.


In addition to the grey dungeon I thought why not make the colored ones too? Straight grey can be boring all the time. So I went to work on some different colors, the first of which is green. But before I could go all green, I had to make transition pieces so the dungeon could blend easily from one color to the other. Here I will show some grey/green transition pieces.

1" pillars. Grey on 2 sides, green on the other 2. 

 1" walls.

 4" walls.

2" walls.

 8"x8" grey to green floor transitions. Holes open and ready for use.

8"x8" grey to green floors. Holes covered and hidden.

Although after building this up, I realized some of the grey/green transition pieces dont line up perfectly. This is something I will have to correct with the other colors before I build them.

And here are some straight green pieces. Although I have no all green floors, my ink was all gone, you can get the basic idea here. When I do finally print out the different colors, I will be taking them to a printer (Staples) to get all printed up.

1" square pillars.

 1" walls.

 4" walls

2" walls

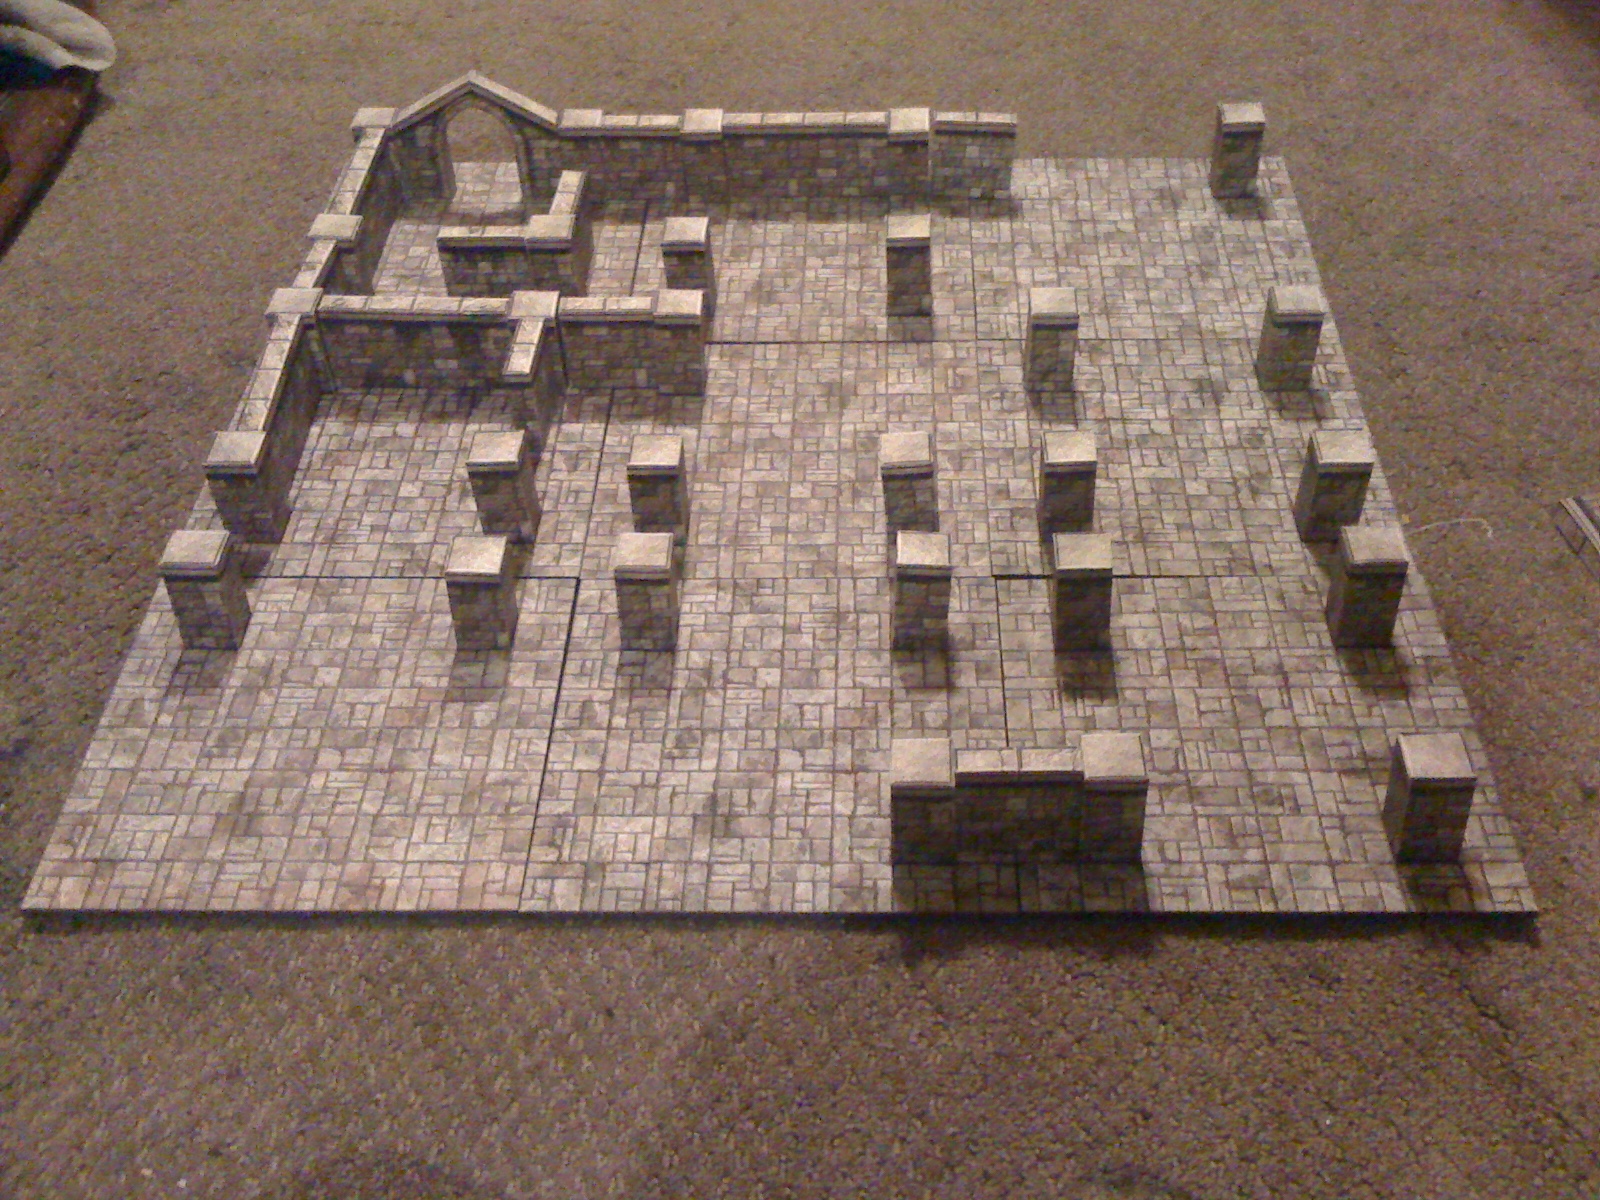
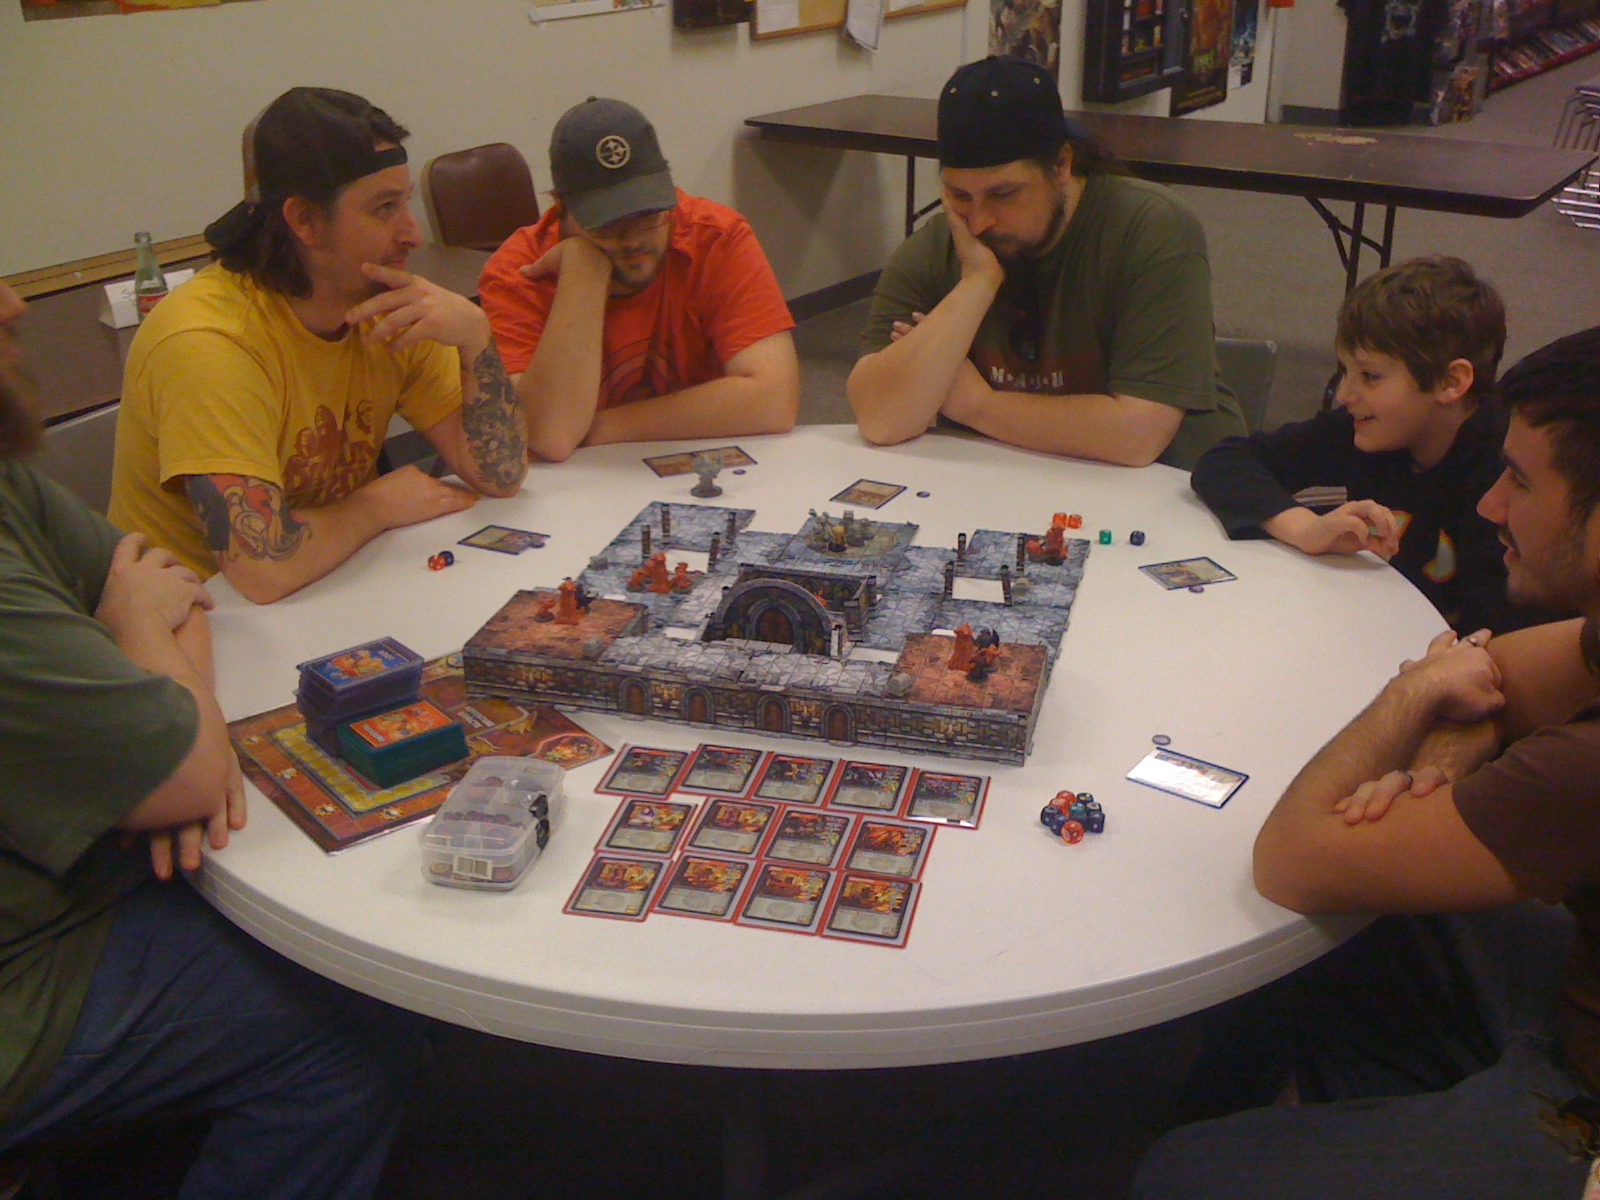
And finally we have some in game shots! These are from the recent Demo I ran for Super Dungeon Explore. I get into this game so much that sometimes I forget to take more pictures. The group loved it and so did I. I hope you enjoyed the pics.

 Beginning the build. You can see where the posts placement is and where they will go. To the side you can see what I used to hold the walls and posts together: Bobby pins! 


 And there are some in game pictures! As I stated before, I get into this game and forgot to take more pics, but it was getting good.

Well there you go, and I go...off to paint!

Wednesday, December 7, 2011

Super Dungeon Explore Demo!!!

So as promised, here are some pics from the recent Demos I hosted for Super Dungeon Explore. These were taken at my local gaming/comic store: Comic Store West.
Pictures were easy to take in the begining, then you get wrapped in the game. My first demo I grabbed no pics (or my phone lost them in the transfer. Second game I grabbed a few shots. But the third game....that will be under the next post: Super Dungeon Explore Dungeon 6.
Onto some pictures!!!

The second Demo game. Using SDE Dungeon 5 (my own naming for these), we find our heroes almost to the end of the dungeon. Rex and his brother have come out to play, and our heroes begin to regroup.


Next we have in game pics of SDE Dungeon 6 (again my own naming). Look I even get a reserved table :)
Heroes point of view, stairs!

 My point of view. Doors are just part of the wall texture. I was not counting them as anything important, just wanted to use the big door.

Our heroes for tonights match up. The youngest is my son, he is 10 and loves this game.

All the terrain is papercraft and designed/distributed by WorldWorks Games (as I may have mentioned before), part of their TerrainlinX system of terrain building. All printed, cut, built by me. Many many hours all by hand. Everyone had a blast and cant wait to see the next dungeon I come up with. Next post coming in a bit will show a bit on how I put SDE Dungeon 6 together.

Wednesday, November 23, 2011

WIP 8 bit dungeon:extras

Continuing my work on the 8-bit dungeon (before Super Dungeon Explore arrived) I was able to work on some extra bits I may need later on. Most of these didnt turn out 100% the first time, but gave me the look of how I wanted them, and now I can rescale or re-size. So here are some extra bits::

6" wall::
For those extra big room, I decided to have a 6"wall. This would work better than a 4" and 2" wall put together and leave those for other areas of the dungeon.
 
 6" wall, cut out and ready for assembly.
6" wall all assembled.

2" doorway arch add-on::
 The basic shape, ready for cutting.
 The archway all assembled. You can still see some white, this is one that
didnt work 100%, but gives me the look and idea what I need to change.
The prototype archway ontop of a 2"wall.
There is a bit of an overlap, but that will be fixed later on.

1" stairs::
The stairs were a bit trickier than I imagined. Overall I am happy how they turned out, but I made them a bit too big, more like 1 1/4" than the 1" I was going for. The pics below actually show the whole construction of the stairs.


There are the completed stairs. It looks good, I just have to re-size them.

And there you have the extra bits I worked on last week. Now that Super Dungeon Explore has arrived, I gotta get some games in! That and commission work needs done - I will post those pics when I get to them :)

Until next time dear readers...