Thursday, May 24, 2012

Ogroth Ruins-King of the Hill pt3

Here we are, the wrap up post of the newest piece of terrain, the Ogroth Ruins King of the Hill! This will be touching up the final piece painting and flocking. So grab what you want and get ready for some exciting conclusion!

What I used:
Liquitex Basic (acrylic paint)
 -Black, Grey, and White
 - Light Brown, Brown
Woodland Scenics Blended Truf-Green
Woodland Scenics Medium Green Flock
Woodland Scenics Weeds


STEP1: Paint!
So apparently I forgot to take some pictures here. Well as you can see I painted the Stone Alter and the Ballast added from the last post. So here are some finished painted pics of the hill and stone alter. The hill is still the same green we added long ago, the brown ballast was painted using the Acrylic paint Brown, then mixed with light brown, and mixed a bit of white in to raise the color.
 The Stone Alter was painted by mixing the black and grey, then straight grey, grey mixed with white, and finally in highlight areas straight white. It is starting to come together now!


 The pillars were painted in the same fashion as the Stone alter using the same acrylic paints. For the most part these pillars are finished and look great.

 STEP 2: Flock You!
(See I like puns) Now to add the grass for the hill. We are using (Why do I say we? Its just me here) Woodland Scenics Blended Turf, Green blend. This provides an almost natural grass color and has variety of colors in it so as not to be bland 1 color grass. Take your PVA Glue and spread out an area to cover with the grass.

 I pour an extra bit ontop of the glue and press down firmly to stick it in place. Then shake off the excess into the blue tub. NOTE: Make sure blue tub is clean and empty, you dont want bits of stone or other getting into the blend, you can always reuse the excess.
 Continuing flocking until the hill is completely covered. It looks beautiful right now.
 In the same fashion here I used PVA Glue in random spots to stick down some green flock and weeds. The light green patches is the green flock. the green spots on the alter is the Woodland Scenics Weeds.


 Oh la la, she is beautiful! Now lets add all the bits together!
As I mentioned at the beginning of the project this is a terrain piece to be used for Warmachine/Hordes games. As such it can be used for a King of the Hill scenario, it can also be used for the Mosh Pit scenario because of the 14" circle top of the hill. Now because I added so many parts there can be a variety of King of the Hill and as such I have made names for them. I will share the names with each of the pics :)


King of the Hill 


 Super King of the Hill


 Extreme King of the Hill


 Mega King of the Hill

NOTE: Now I realized I said that 5" circle made earlier on that we would get to it...Apparently I missed taking pics of it. Although it was made in the same fashion as the 10" stone alter. cut in half, design outline and paint. This top piece is a stand alone to be added if you so choose as with the pillars.


And there you have the finished piece! It is beautiful and works so well. I will have to get some in game shots with this, but you can fit a 50mm between all the other pillars. Now you can keep the extra bits free form and place when you want (the 8 pillars and the top 5" stone). I am going to add magnets to the bottom of each piece and the top of the hills so that they dont move when being played on.

I declare that this piece be finished! So there you have the Ogroth Ruins- King of the Hill piece. I am going to work more on this set, but first I have to paint something. I think I have an idea. Upcoming in this Ogroth Ruins set are a few more basic hills, some smaller (4"x6") ruins, and an actual mosh pit area! So stay tuned if you like. Until next time...

Ogroth Ruins-King of the Hill pt2

And we are back! Continuing on the Ogroth Ruins King of the Hill terrain piece. In case you missed it part 1 was done earlier today and can be found in the side navigation menu using the Ogroth Ruins label or looking under May 2012. For now I am making a King of the Hill terrain piece (that can also dub as a Mosh Pit area), but I know I am expanding and plan on doing a whole set dedicated to this motif.

As the other piece dries I am going to work on the pillars right now. For the moment I am only going to make 8 of these as that is all I need for this piece. Although later on in this set I will probably need more.

Ogroth Ruins Pillars
What you need for this section:
8- 50mm bases from Privateer Press
1- 2'x2' 3/4" thick insulation foam (pink foam)
PVA Glue
220 grit sandpaper
sharp knife
Measuring ruler
ball point pen

STEP 1: Pillars of the Community
I like puns. So taking our 2'x2' 3/4" thick pink foam we measure out 2 blocks. 1 1/2" wide 3" tall. This will form 1 pillar. So measure away for multiple pillars. I am going to show the construction of 1 and you can multiply that with each one you assemble.
 Take each block you cut out and line them up two by two, or 2 blocks for each pillar. Using your PVA glue stick it to one side and make a sandwich, pressing each side together. You could also use toothpics here to help hold the sides together, just use 2 toothpics and place one near the top and the other near the bottom.

 It may look like a sandwich, but DONT eat it!

STEP 2: Trim the Edge
After they dry take a sharp knife and trim off the corner edges. This will make easier for sanding into a circle. Save your scraps because I will be using these later in other pieces of this set.

STEP3: Sanding
Using the 220 grit sandpaper, sand down your pillars into a cylinder shape. This will stand as our pillars in this, and future pieces.

Make sure the piece fits roughly onto a 50mm base with room to spare.

 STEP 4: Details
So now you have 8 pillars that probably look all the same. To add character to each, take an Excato blade and nic and notch each pillar individually. Even across the top, remember these are ruins. I have even cut a few in half and weird angles to add more variety. I am also saving the tops I cut off for ruins in another project. Remember variety is the spice of life.

Save your scraps! They can be stored in a plastic bag, or a bits box.

STEP 5: Glue Covering.
As with the other pieces of foam You want to cover these with a glue/water mix to protect the foam. These 8 pillars were also glued to a 50mm base as they are the pillars I will be using for this piece.
 See the variety? You can mix and match the placement of the pillars and each looks unique in its own way.

Now as the glue dries here I will go back to working on the hill we started in part 1. Continuing on the hill we are going to use the acrylic paints and ballast mentioned in the beginning. This will be coating the hill and will begin using new steps.

STEP 1: Paint the Alter.
Grab up your choice of acrylic paint. I am using Liquitex Basic colors (picked up from an art store). This is Black. I use a flat brush and coat the whole top of the alter ruins. Dont forget the edges, and dont worry about getting some on the hill, we will cover that up later.


STEP 2: Adding Ballast
Also known as sand or grit. Any type will do, I am using Woodland Scenics because it is black and will save me a bit of time by not coating it black before I paint it. There are 2 types I am using for this part, fine and medium ballast. The fine will be used on the outter circles and the excess of that will be mixed with the medium ballast to be used arounf the alter ruins. The blue tub is your average dishwashers sink tub and will be used to collect the excess that falls/shakes off later.


Using the 50mm outlines we traced earlier this is where we will add our first bit of ballast.
 Add some PVA Glue in the circle area.
 Then sprinkle on the ballast. For these outer circles I used the Fine Ballast. Sprinkle over the blue tub to collect the excess once you shake it off. To shake off I first press firmly onto the ballast, this usually means I pour an extra amount onto the glue area first. Then turn the piece on its side (or even upside down), and tap strongly at the bottom to knock loose any bits not sticking to the glue.


Now continue for each of the other 3 circle outlines. Doing 1 at a time will allow less of a mess.

Now we are going to add ballast to the outside of the ruined alter. Using PVA Glue spread any pattern you want but make sure it touches the bottom edge of the ruins. If you want you could work in smaller sections.
 Spread on the ballast. This is a mix of the loose fine ballast and the medium ballast. Shake off your excess into the blue tub for reuse later on.

After you have all the sides covered, I added a little extra to the top of the ruined alter piece by adding random glue spots to be covered with the leftover excess in the blue tub.


Now you have your accents to your piece. While we are here (and our pillars are dry) we are going to add some glue to the bottom of the pillars and dip them in the excess as well to add some loose stone to their bases, this will not only add some detail but will also match them to the main alter ruins.

And then we will paint them black with the same paint as we did on the alter ruins above.
Now we let that all dry, and we will be ready for painting, flocking, and finishing up the piece...

but that will be in part 3. Trust me, you wont want to miss it!

Ogroth Ruins-King of the Hill pt1

Welcome to my latest terrain project, Ogroth ruins set. A little background is required to explain before I begin. I play a lot of Warmachine, a table top wargame from Privateer Press (most of you probably knows what this is). Most of the time I play at my local store, and a few friends wanted to start playing after hours at a nice location (my place) so I went and started to create terrain for our games. My table is still undecided, but I had an idea for a set of terrain-the Ogroth ruins!

In the Warmachine history there was an ancient race named the Ogroth. They were powerful and a huge battle took place to eradicate them from the lands, the Cryx army were the ones to lay the final blow in an enormous blast of magic that ended the war and the Ogroth.

So taking from this I decided to build a set of terrain and call it the Ogroth Ruins (I added that as a label to the side for easy access for you). First up I needed a hill. Not just any hill, I wanted a large hill. You see for gaming purposes there is a scenario that requires a 14" circle, so I decided to make the hill 14" round and add the ruins on top of that. And since I am a little crazy I wanted a little more variety...so this project can
get big.
Complete ideas for the Ogroth Ruins terrain set
Lets begin!

Some materials I used to complete this project:
Insulation foam (pink foam) 2- 2'x2' 1" thick
Insulation foam (pink foam) 1- 2'x2' 3/4' thick
PVA glue (elmers is fine, I used Aleenes tacky glue)
220 Grit Sandpaper
Measuring Ruler
Sharp knife
ink pen or pencil
Paintbrush (various sizes, make sure they are cheap)
Acrylic paints (Black, grey and white will do)
Woodland Scenics Flock
Woodland Scenics Ballast (sand will also work)
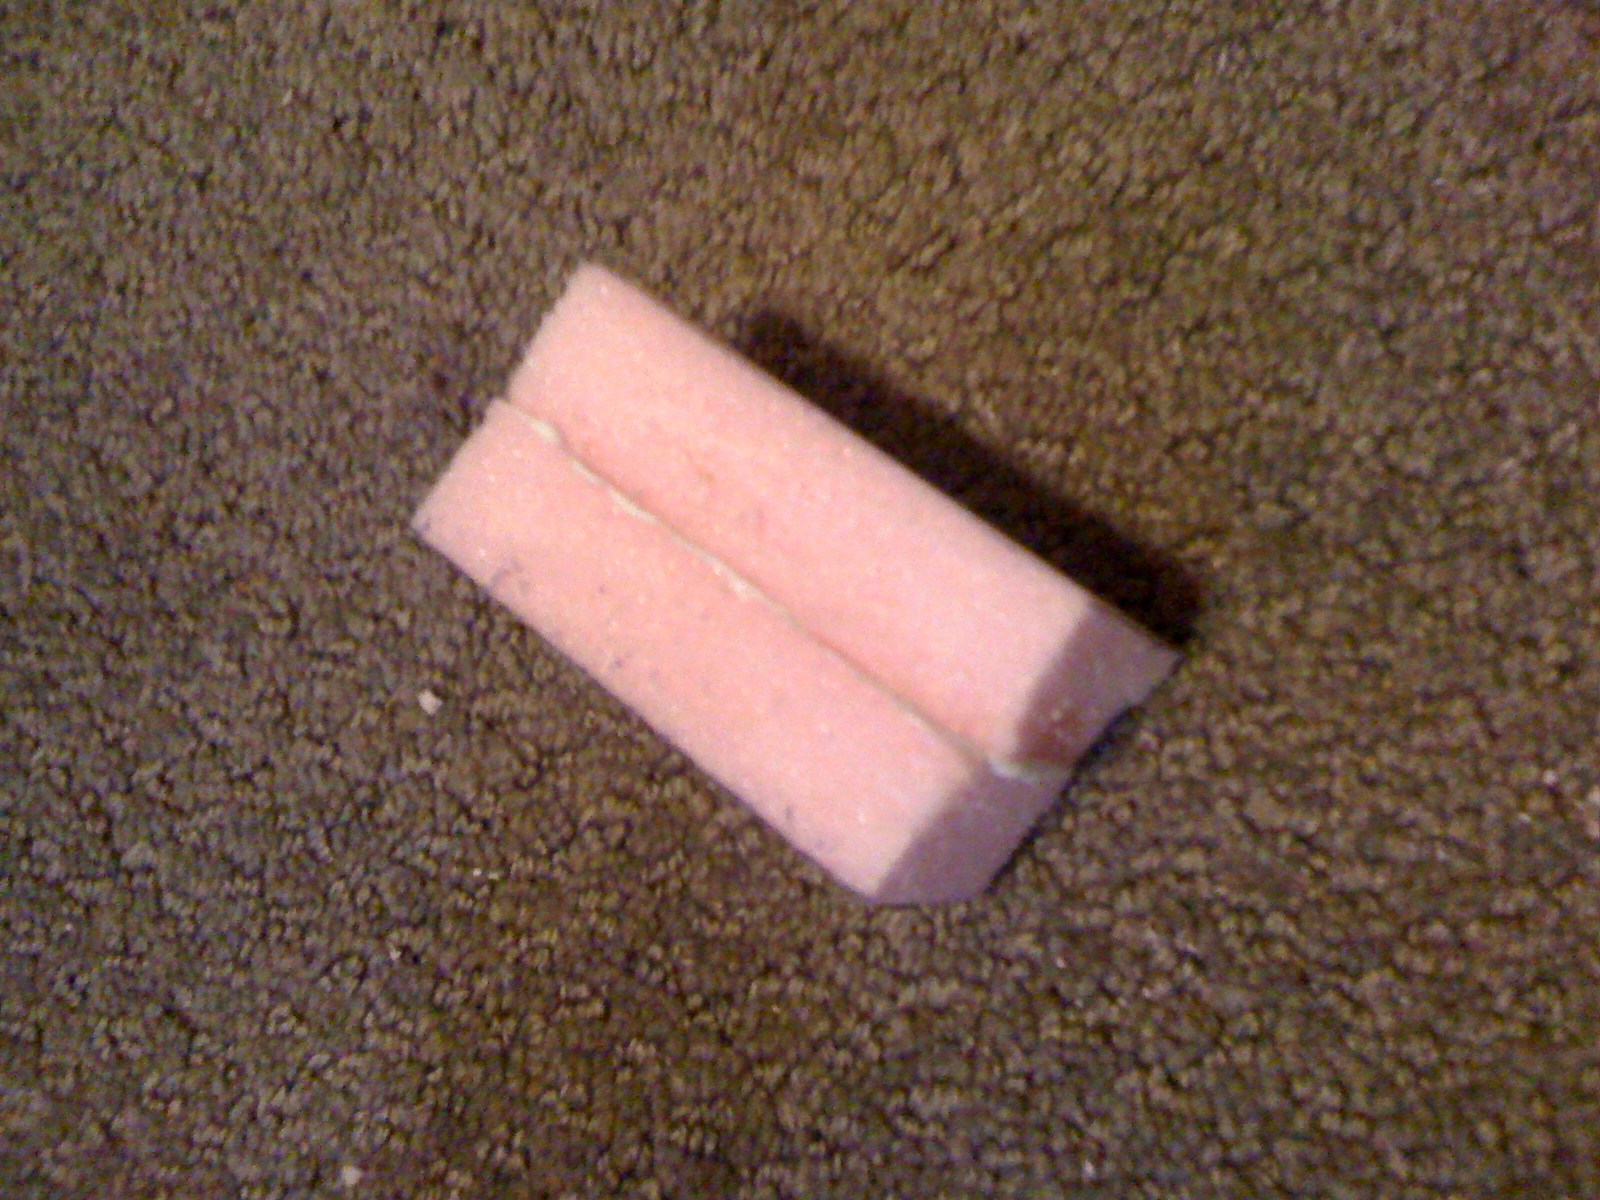
50 mm bases from Privateer Press


 STEP1: Making the Hill
Taking 1 of the 2'x2' 1" thick pink foam, measure out a 16" circle. from the same centerpoint measure a 14" circle. The 14" will be the top of the hill. Really if you wanted less of a slope leading up to the hill your outer circle can be larger.
 With a sharp knife blade, cut out the large circle (REMEMBER:CUT AWAY FROM YOURSELF). There are various ways to cut the slope, but I cut at an angle leading up to the hill. I also cut notches on the side for character of the hill. Use 220 grit sandpaper, sand the side smooth, you can also add extra character to the hill with sandpaper.
 The hill complete for now.

STEP 2: Making the Ruins
Take the other 2'x2' 1" thick sheet of Insulation foam and measure out 2 more circles. The first a 10" circle with a 5" middle circle, and the other a 5" circle.

 10" circle with a 5" middle drawn in.

 5" circle with 2 1/2" drawn in.
Carfully cut out both circles with a sharp blade (REMEMBER:CUT AWAY FROM YOURSELF). Again using the 220 Grit sandpaper, smooth the edges to form a smooth finish the the circle edges. These will appear to be made of stone as ruined alter, we will get to them later.

 Dry fit everything before continuing. Here you can see my madness come to fruition. The bottom piece is our hill we just cut. The middle is the 10" circle will stand as the alter ruins base. the 5" circle top piece is another layer of the stone alter ruins. The black circles are the 50mm bases that will serve as pillars to match the ruins. Crazy right?
 (I will get to the smallest hill last, so save it for later)

STEP 3:  Preping the Hill
Ignore the doodles. Here we take our PVA glue and a large cheep brush. Water the PVA glue down with a bit of water and cover the whole hill, nicks and all.


This will give a bit more sturdy surface to the hill and allow the paint to stick to the glue instead of seeping into the foam. Also if you plan on spray coating the piece, the glue will protect the foam from being eaten. Yes most spays (basecoat or cover) will eat thru the pink foam and deform your piece. Now we let that to dry as we move onto the 10" alter piece.


STEP 4: Alter Ruins
While that hill is drying we will work on the 10" alter piece. First Take a sharp knife, It has to be sharp to cut smoothly thru the foam, and cut the piece in half as best you can. REMEMBER:CUT AWAY FROM YOURSELF, I am not responsible for your injuries, also lay down a cutting mat so your significant other doesnt maim you for ruining the carpet/floor.

 2 halves of the same piece. The other can be saved for later.

Take 1 of the halves and sand smooth the part that was cut free (the bottom if you will). This will serve as the top as it will be rough in appearance.
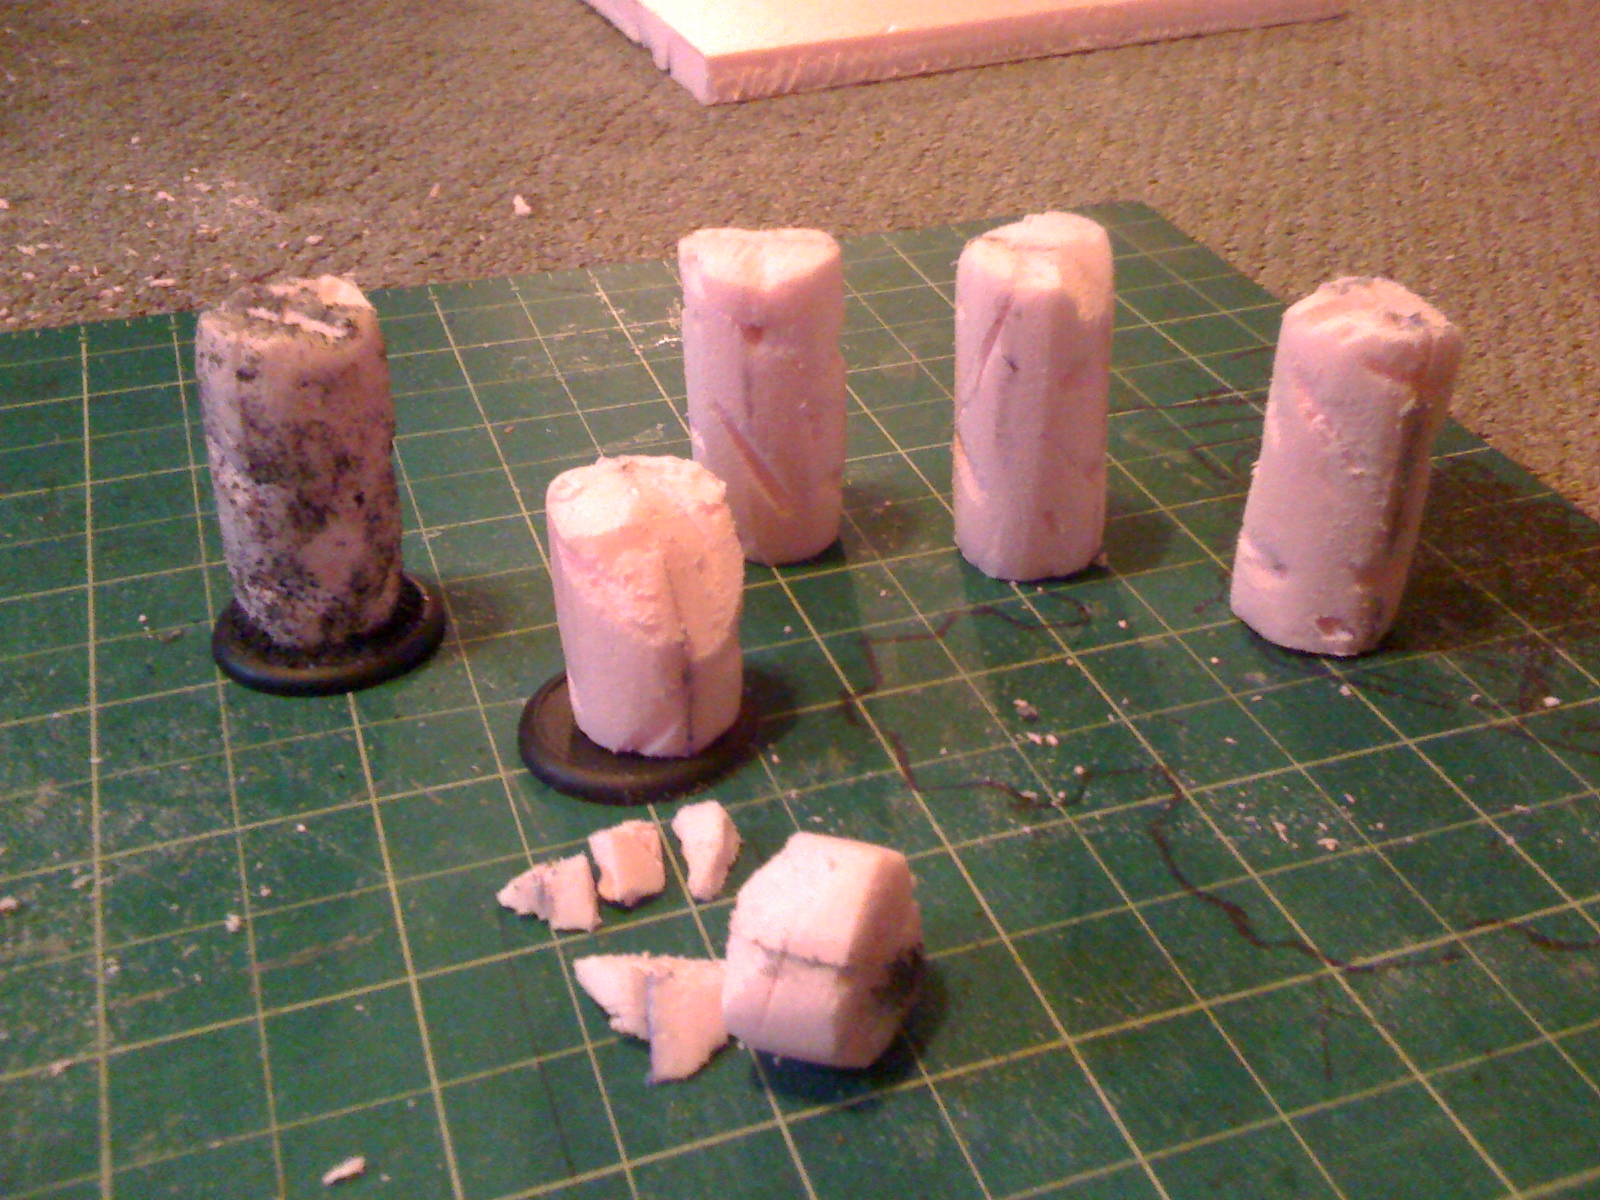
 Now take 4 50mm bases and use them as a guide. Match up the 4 areas and draw the outlines on the foam, this is where 4 of the pillars will sit. Also draw out a 5" diameter outline in the middle, this is where the other piece of alter will fit.
 Next draw out your design. This was just straight edge drawn. Each block here was 1 1/2" wide.
 Now you can see your design sitting in the stone. Next I took an exacto knife and slightly cut into the top of the foam, tracing the design. I also added a few nics into the foam to add charcter to the stone piece.
 Follow thru the design by using a ball point pen to add depth to the design to appear as if the stone blocks are separate.


 STEP 5: Painting the Hill
When painting large pieces like this you may want to lay down protective covering. I have used this piece of board because I like living.
 Now that the glue is all dried (I waited till the next day for this, work got in the way). I grabbed up my large cheep brush and a bottle of Woodland Scenics Green Undercoat to paint the base of the hill. You can use any paint really, I like the Woodland Scenics Undercoats because of the shell it forms when it dries. Adds another layer of protection to your piece.

 This is 2 coats of the Green Undercoat, all dried.

Dry fit the stone alter and bases to the painted hill. Now you can see more of it come to life. Before I forget, Lightly trace the outline of the 4 50mm bases on the hill. This will give you a generaly placement for the pillars later on. Thier placement is important for this because you should (and do) be able to fit a 50mm base between the top and bottom pillars.
Dryfitting, its starting to come together


STEP 6: Adding the Stone Alter
Next we take our 10" cirlce (by now might be a 9 1/2" circle) and center it on the hill. Glue that circle onto the hill. We use toothpick to secure it in place as the glue dries underneath. Stab the toothpick down as far as they can go.

 Clip off the exposed toothpics.

Finally using a glue to water mix, cover the small stone hill and let to dry.

While that is drying I am going to work on the stone pillars. That will be the next post update. Until then, keep those ideas flowing.