Floors::
We start with a piece of foamboard. This will be the base of the dungeon, the underside. I used black for this dungeon. You can see the measurements in pencil, this is where I will cut out the floor tiles. I am going for a modular dungeon. Meaning I can swap out floor pieces or add pieces for a larger dungeon.
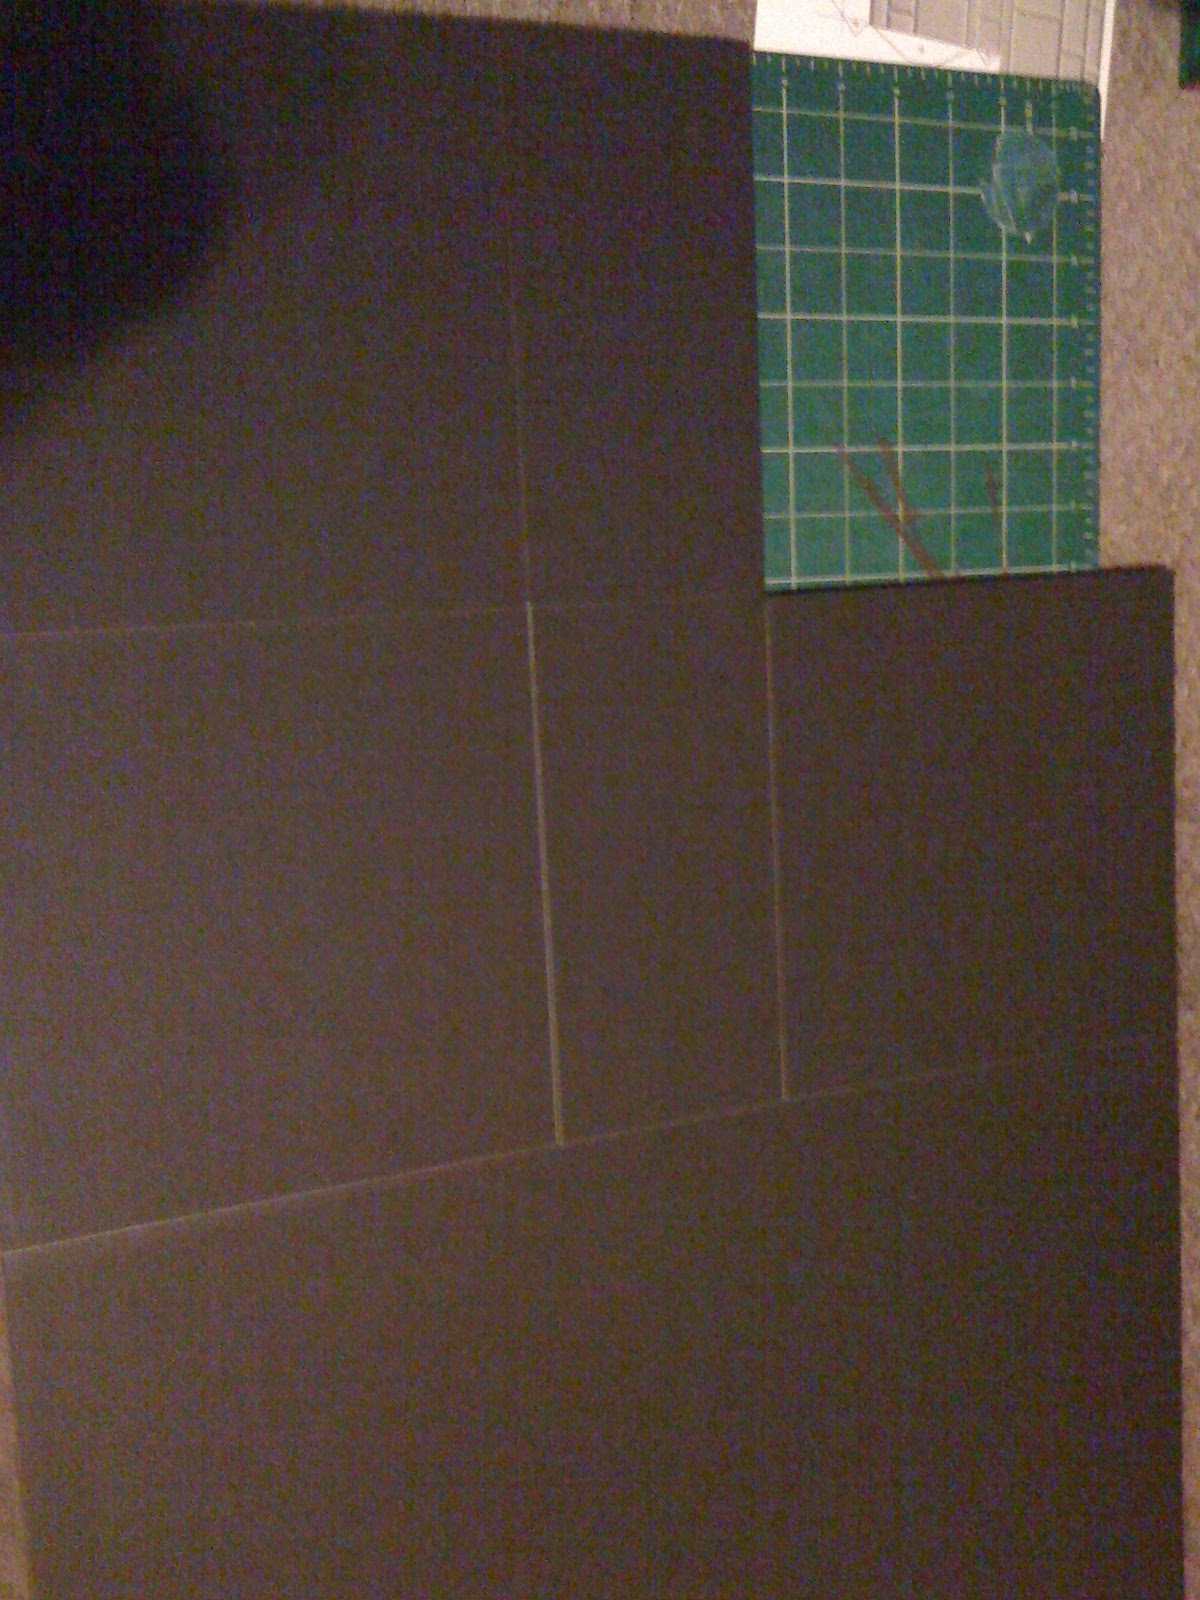
Here you can see all the floor tiles cut out. We have 4- 8"x8" and 2- 4"x8". My floors for this dungeon will be 8"x8", the two smaller tiles were just a byproduct of the width of the foamboard, but I can still use them later on, adding onto a tiles already to make a larger room (see modular).

Here we have the floor tiles themselves, made by me and printed out (also by me). These are the full 8"x8" sheets. They were printed on sticker paper (also known as label paper).

Here you can see the blank black foamboard floor tile and the printed sticker floor tile, all cut out and ready to be applied. You want to make sure the foamboard is smooth and nothing is ontop before you apply the sticker, or you will have bumps.

Floorboard/tile complete!


Next we will look at some of the other pieces I have constructed.
No comments:
Post a Comment